Making changes to my Rampage Arcade1Up was always going to be part of my plan. Much of this has been inspired by an amazing video by ETA Prime (see below) who breaks down exactly what’s needed to get a Street Fighter Arcade1Up working off a RetroPie. It’s a great tutorial on what needs to be done and an inspiration for would be hobbyists like myself to make something more of it.
My own plans required the following:
- A riser for the Arcade1Up to get it standing at a more comfortable height.
- A rebuilt control panel – I can’t use the existing three player one so will build a new two player version.
- A new RetroPie unit and additional hardware for the cabinet, as per the video. Plus a couple of tweaks of my own…
With everything I’m doing here the important part for me is ensure that everything can be restored back to its original form. It may not be necessary but in case I screw up I want to know that I can at least plug the old parts back in and it’ll be OK. While I wait for the new parts I started work on a custom riser. Arcade1Up does sell branded ones but they weren’t available here in Australia from what I could tell and I wanted something a little more specific to my own needs so building one seemed like a fun project.
There’s been some discussion online about modifying end tables to serve this purpose (the base dimensions are 48x51cm) and I used that seed of an idea for building my own stand. For consistency I used MDF of the same thickness of the Arcade1Up (12mm) but the inside of it is reinforced with pine legs which take on the full weight of the machine. I’ll admit to winging it here as my original plan didn’t factor in the pine legs (or widening the base a fraction) but I’m glad to have made the change as it’s strengthened the unit considerably.
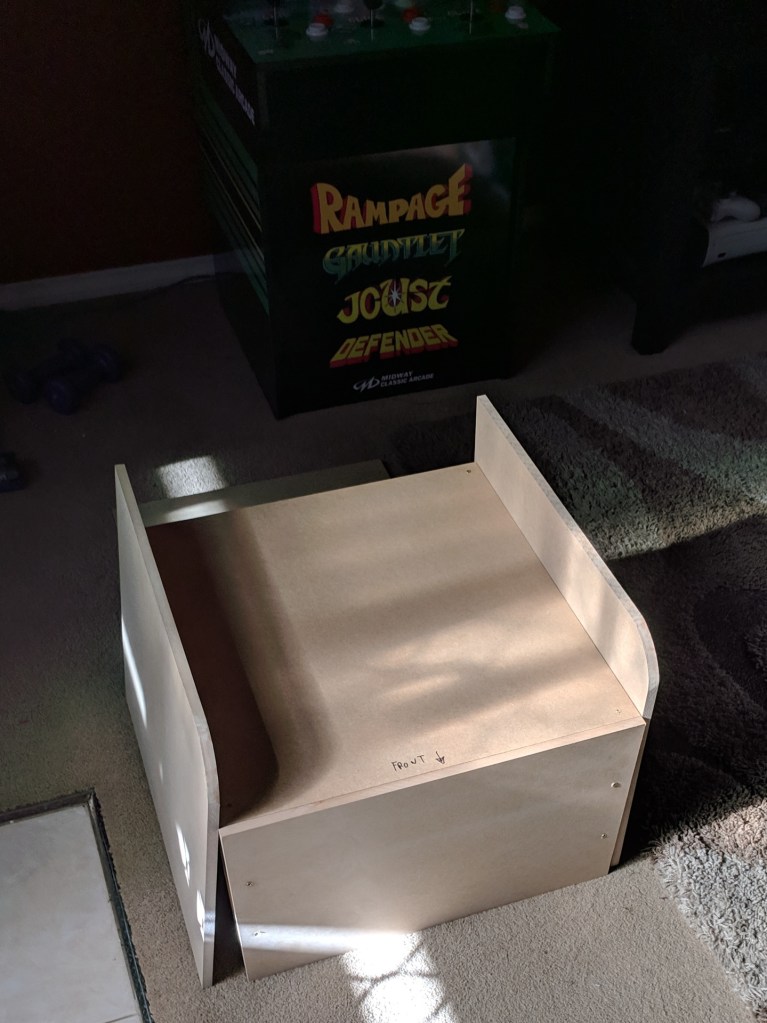
Pieces to the puzzle. 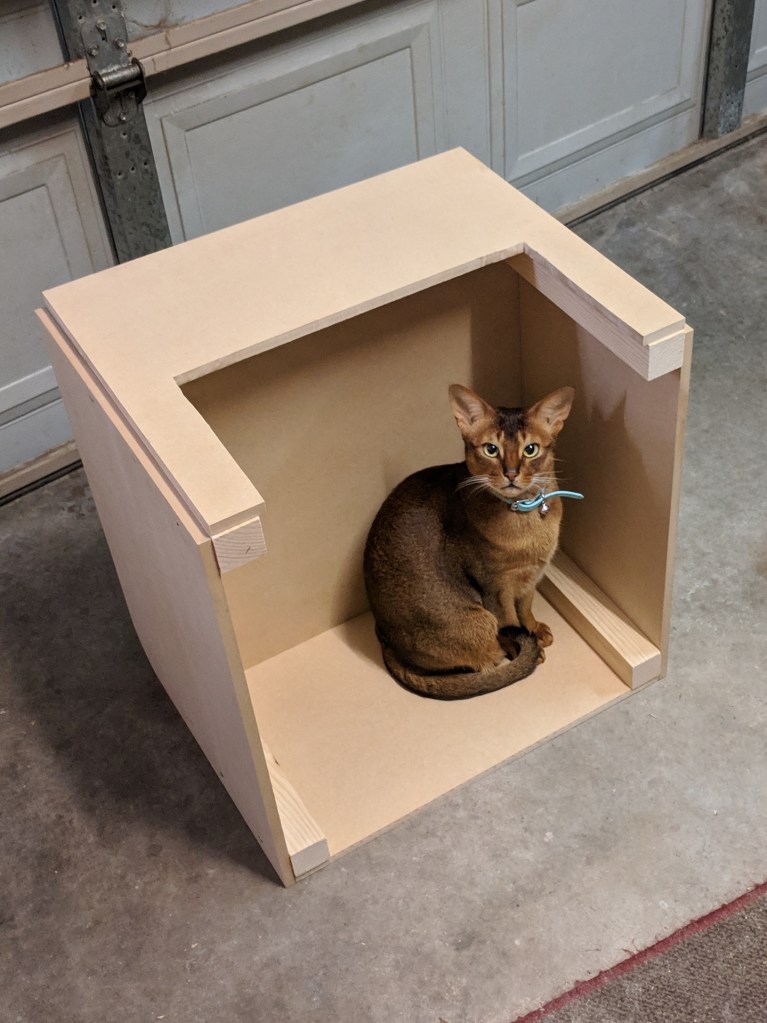
Meet Archie, the construction foreman. 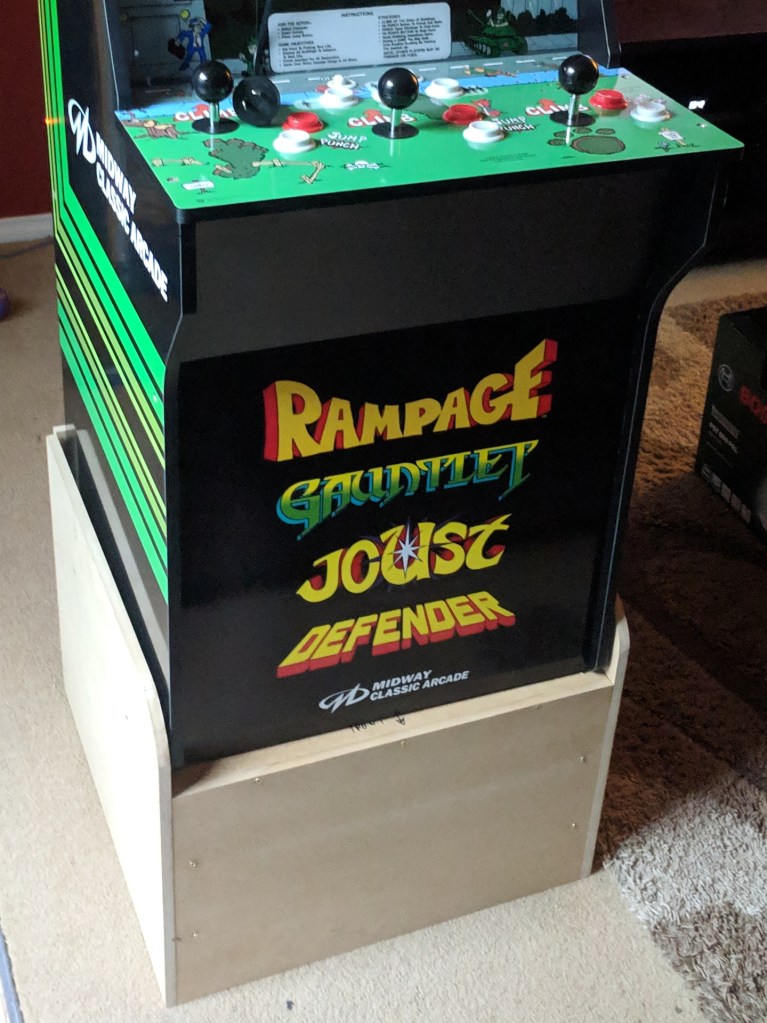
Base ready and holding. 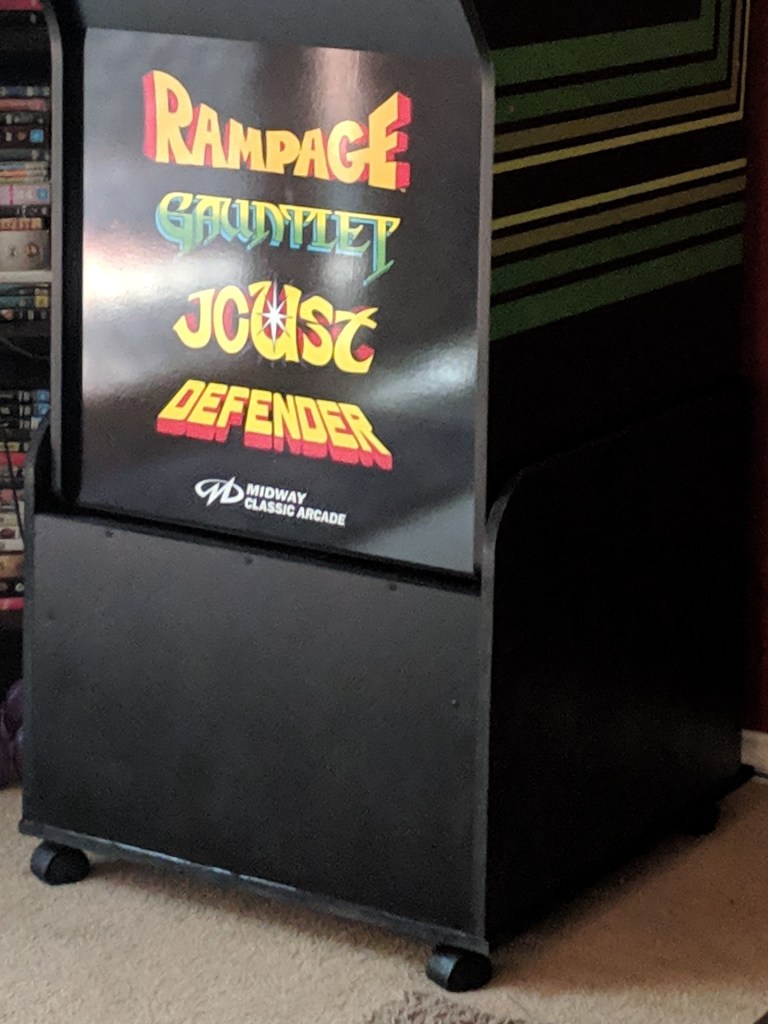
Painted and ready to roll!
Not only did I want the riser to carry the Arcade1Up but I also wanted it to have internal storage space and be able to get wheeled around my house. As previously mentioned I also added some extra width to the base measurements so that wasn’t too tight a fit and risk damage to the machine when moving it around. The wheels were screwed through the base into the pine legs so won’t go anywhere. I also glued a rubber bumper inside the walls of the stand so that the unit is held securely but avoiding any wood panels rubbing against each other.
It’s certainly not pretty though it might improve with the help of a few stickers but it does what I need and sits the machine up at a height that makes playing it standing up a lot more comfortable. I’ve already been playing a lot more Joust because of the riser so it’s already succeeded in that respect.
Next step will be working on the new buttons and controls when they arrive. Hopefully also finding a solution to avoid painting the new control panel as my initial attempts looked pretty bad and that just won’t be acceptable. With luck I’ll have a post talking about overcoming that obstacle in the near future. 🙂
Categories: Gaming, Modifying an Arcade1Up, Opinion, Technology, Tips & Tricks


Nice work. I’ve seen these cabinets at the store and the idea of modifying them in this way certainly makes them more appealing.
LikeLiked by 1 person
Thanks! 🙂 I’ve been intimidated in the past when trying to work on something like this so being able to learn while working on a less complicated solution is great!
LikeLike