My one terabyte hard drive filled up on my PS4 Pro during the week. I thought it best to upgrade the hard drive. I picked up a 2 terabyte SSHD (Hybrid) Seagate Firecuda drive and thought I’d have a crack at upgrading the hard drive on the PS4 Pro. Overall it was actually a pretty simple process but there were a couple of things in the process I got a little delayed on. I thought it might be handy for you, our readers, to write a guide and help minimise any hassle.
I should point out that doing this sort of work is at your own risk. Probably the most careful thing to be aware of is not to thread the screws you’ll be working with as part of this process. They aren’t overly tight but you need to make sure you have the right Phillips or Flat head screwdriver.
Firstly, you won’t void your warranty by updating the hard drive in your PS4 / PS4 Pro. This is one of the advantages the Sony console has over the Xbox. Secondly, if you have downloaded a lot of games and don’t want the hassle of downloading them all over again (plus your very important saves, particularly if you don’t have Playstation Plus, which allows cloud saves) then you’ll want to backup your data onto another external hard drive before doing this process. Finally, make sure you have ejected any game discs as you will be required to turn your PS4 upside down (for easy access to the hard drive bay).
To backup your current PS4 hard drive – follow these steps here on the Sony website.
Ok, now to the fun part – upgrading the hard drive. I apologise in advance for the less than professional pictures I have taken, but I was upgrading my hard drive at the time so I was a bit more focused on that at the time.
KNOWLEDGE REQUIREMENTS.
You must have some familiarity with PCs, in terms of formatting USB drives, and then creating folders on them. There will also be a requirement to download and copy a file to the USB drive as well. If you don’t feel comfortable with this, please do not attempt the upgrade on your own and perhaps work with a friend who is more PC savvy.
PROJECT REQUIREMENTS.
1 x small Flat Head or Phillips Head screwdriver.
1 x USB drive (8gb is what I used but you can get away with 2gb as a minimum) formatted to FAT32 or exFAT.
1 x PC or Laptop connected to the internet that will allow you to download a 900mb (approx) file. This PC must also have a USB port for your USB drive.
1 x Micro USB cable that allows you to plug in your PS4 controller into your PS4 / PS4 Pro.
TIME REQUIRED.
One to two hours depending on internet speed and familiarity with PCs (not including restoring data backed up or re-downloading games and apps).
SECTION 1 – HARDWARE INSTALLATION.
Requirement – 1 x small Flat Head or Phillips Head screwdriver.
Step 1 – Remove the plastic plate covering the hard drive bay. On the bottom right (to the right of the network port) is a small plastic cover. Using your fingers prize it open from the network port side and it should come off pretty easily. No unscrewing of anything required here.
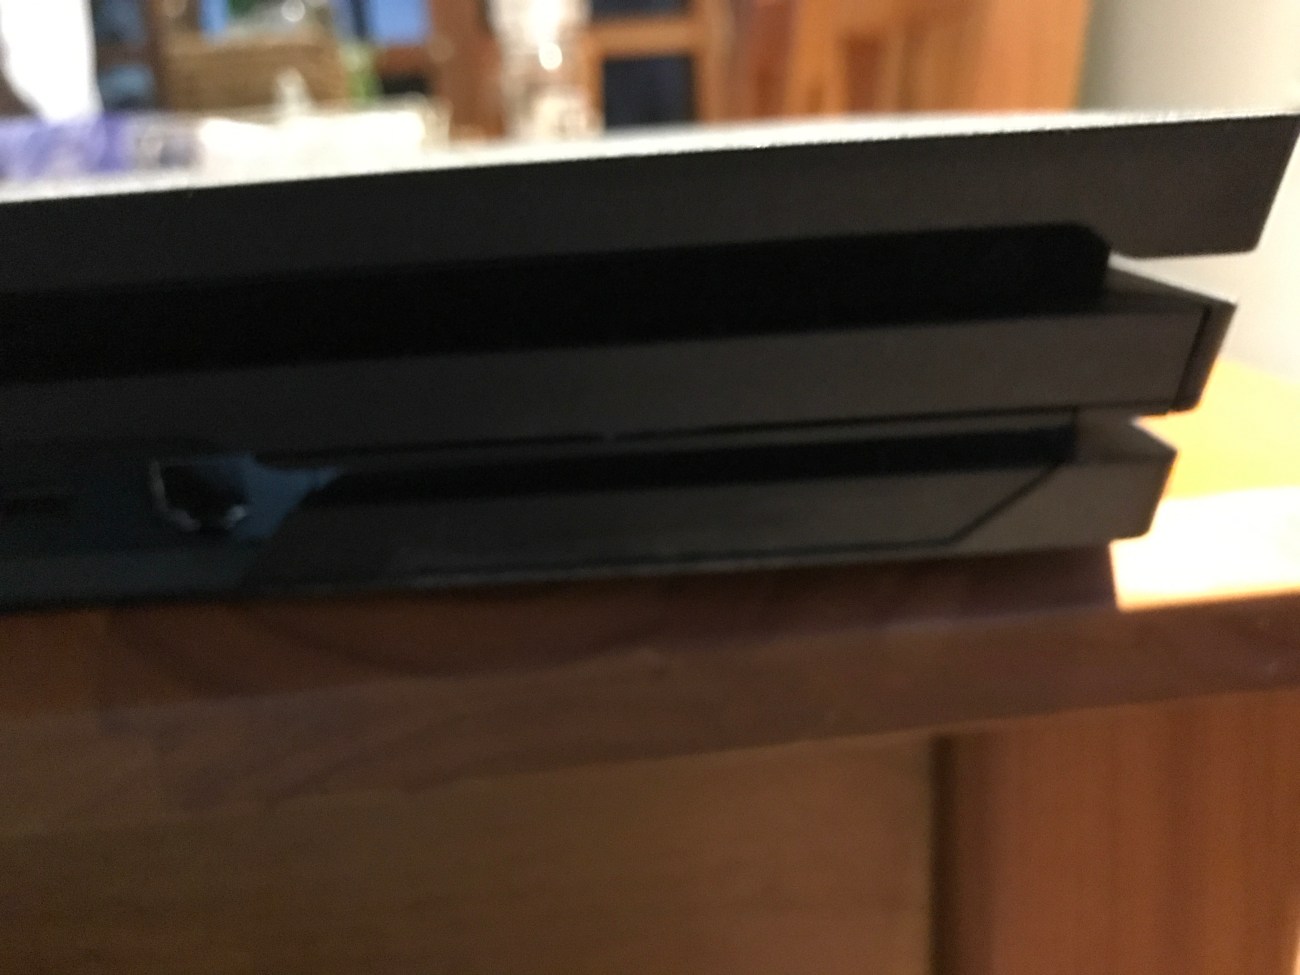
Remove the plastic plate by opening from the left (just to the right of the network port). Pull outwards towards you.
Step 2 – Using a fine Phillips head or Flat head screwdriver (I used a small Flat head), unscrew the one screw holding the hard drive in place. You’ll have to turn your PS4 carefully upside down during this process.
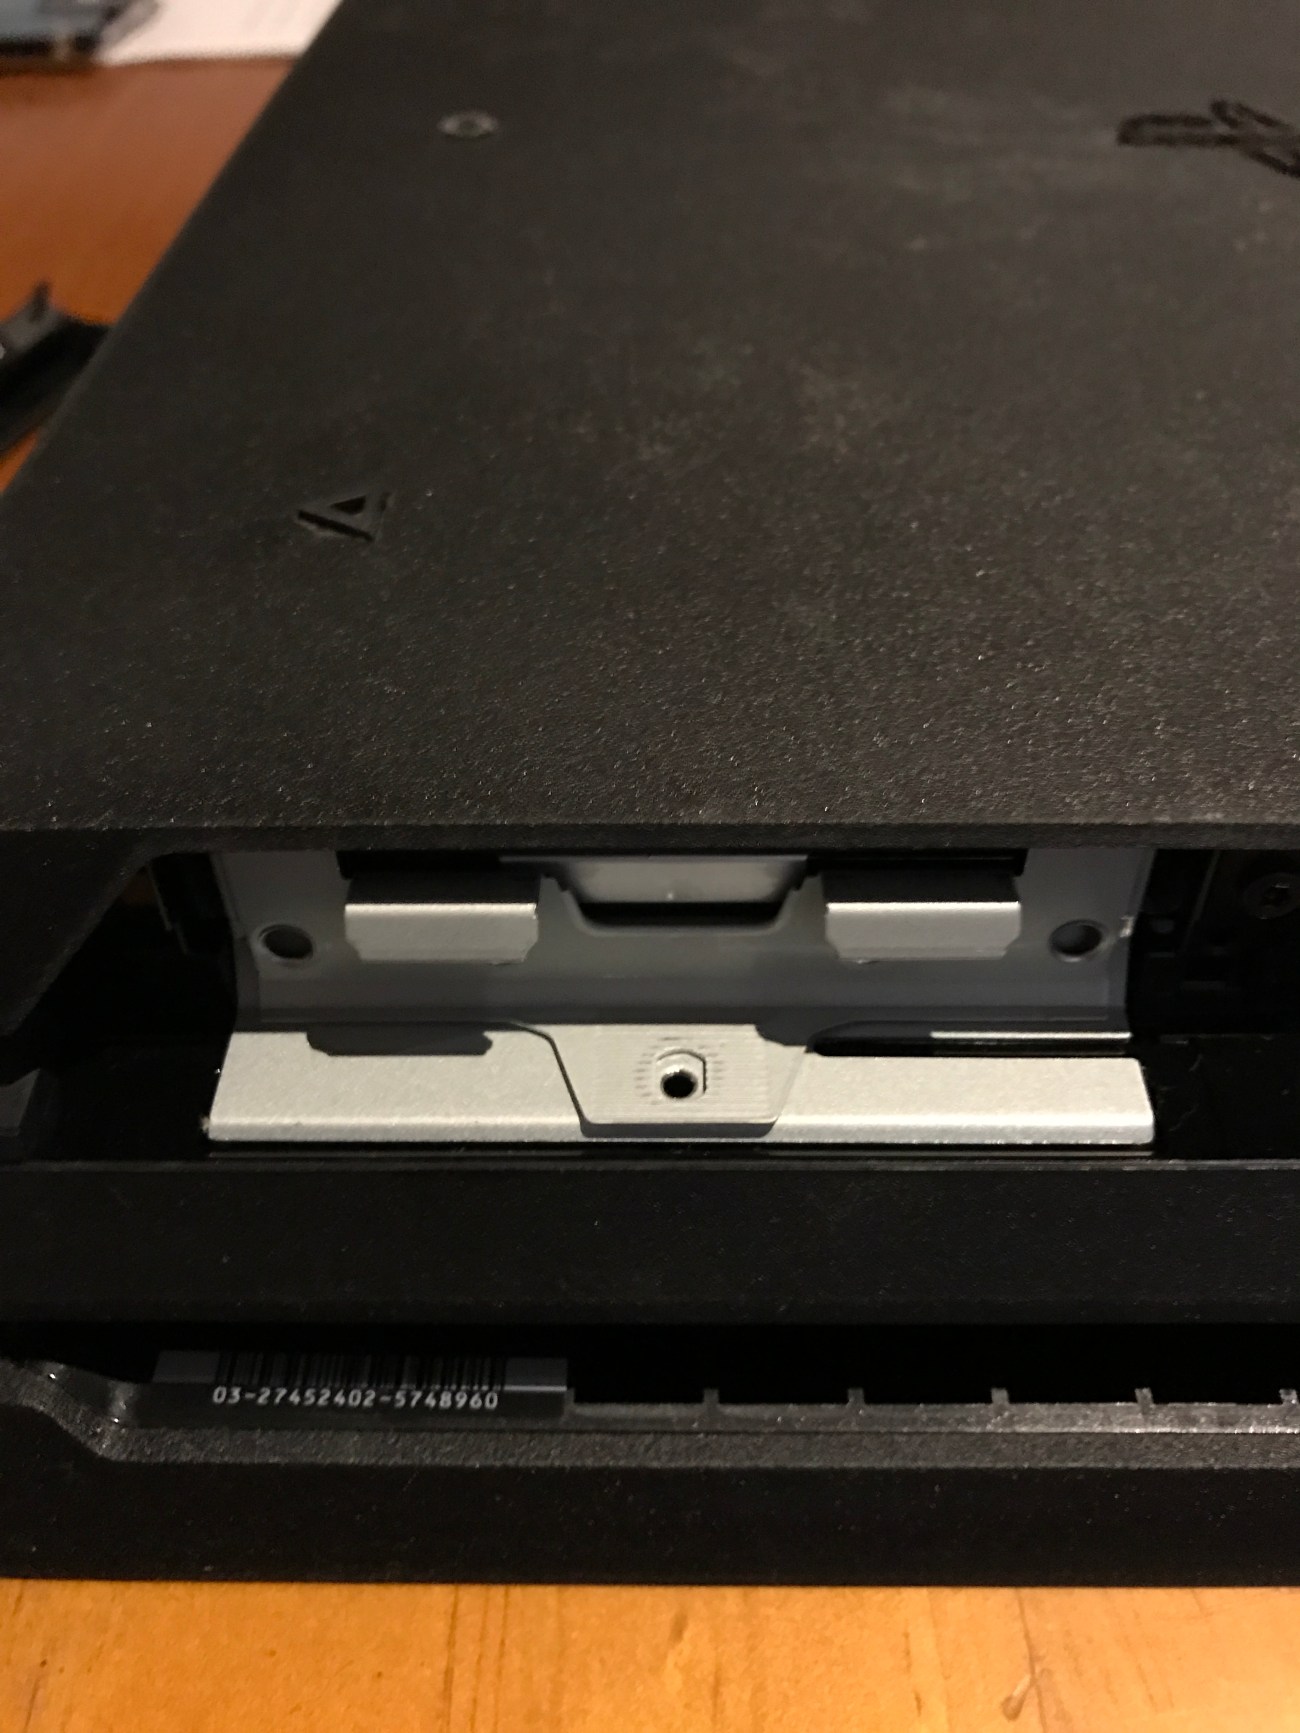
There is only one screw to be removed to be able to pull the hard drive bay out. I used a small Flat head screw driver with this. Be very careful not to thread the screws.
Step 3 – Remove the hard drive bay. Once the screw is undone just pull it out from the back of the unit.

Ignoring the dust, this is the PS4 Pro with the hard drive and bay removed.
Step 4 – Unscrew the four screws holding the standard 2.5 inch hard drive in place. These screws are cushioned so please take care when unscrewing them. Also, note the postion of the hard drive. The single screw you undid is at the opposite end of where the hard drive power and data contact points are as shown in the picture below.
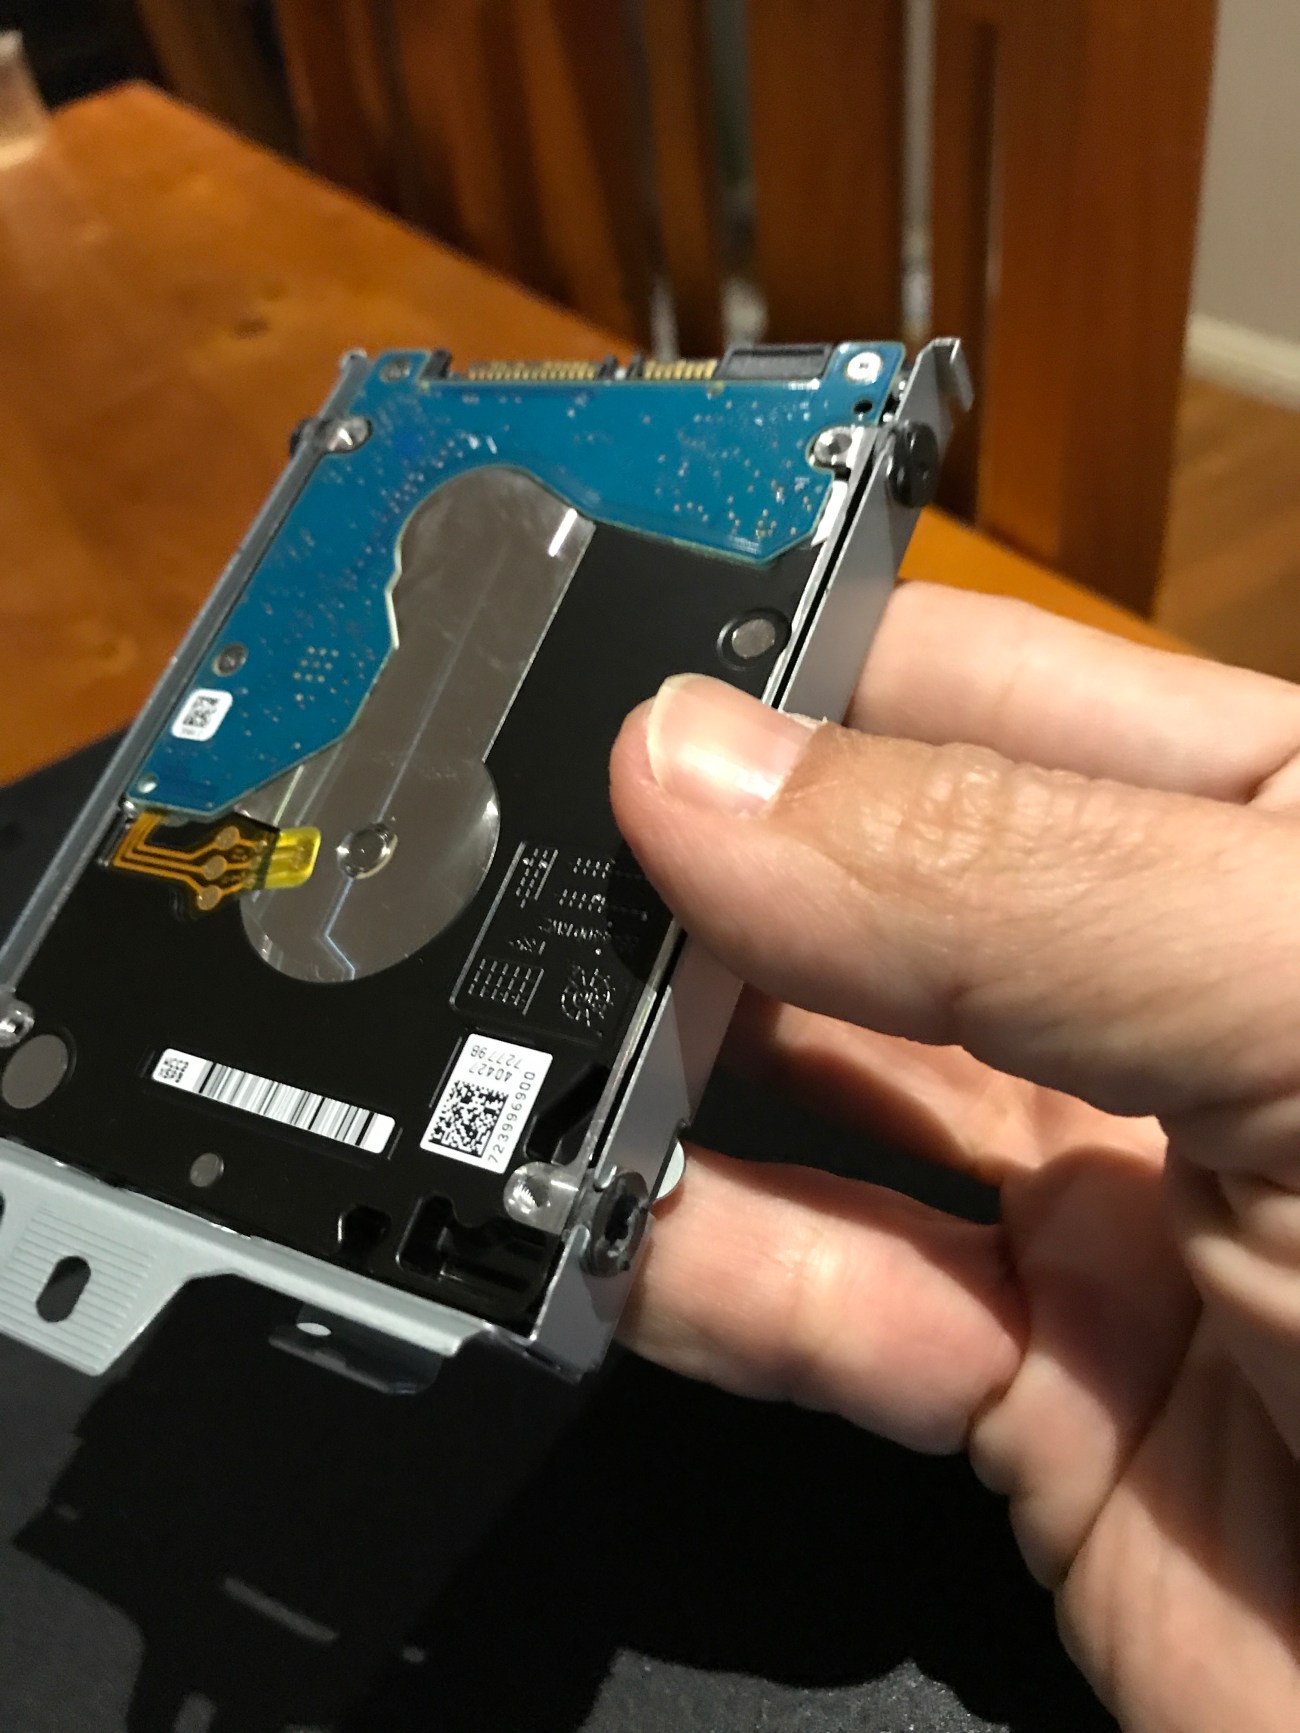
Unscrew the four screws holding the hard drive in the bay. Note the bottom of the hard drive is showing when I hold this upside down. Note the contact points (gold ribbons) for the data and power.
Step 5 – Mount the new hard drive on the hard drive bay. In terms of hardware installation, this step is probably the most fiddly. Just line up the hard drive with the screw thread and secure the first screw to hold it in place. The rest of the screws should be easier once you have anchored the hard drive.

The hard drive has to be lined up before putting the first screw in. Once you have anchored the hard drive the remaining screws should be easier. Please note – this isn’t the new hard drive pictured and is just indicative of this step.
Step 6 – Ok, you are almost done with regards to the hardware part of this installation. Basically it is just a reverse procedure from here. Slide the hard drive caddy back into your PS4 / PS4 Pro and then secure with that one screw. Then replace the plastic cap and you have completed the first part to setting up your new hard drive.
Important Note – Make sure your store your original hard drive somewhere safe. If you ever intend on selling your PS4, or trading it in for a newer console, you’ll want to install the original hard drive back in before selling / trading.
SECTION TWO – Software Installation.
1 x USB drive formatted to exFAT or FAT32.
1 x PC or Laptop connected to the internet that will allow you to download a 900mb file, and has a USB port.
1 x Micro USB cable that allows you to plug in your PS4 controller into your PS4 / PS4 Pro.
Installing the software is probably a little bit more fiddly. As you’ve probably realised now that the new hard drive is installed it doesn’t have the Playstation Operating System installed on it yet. That is what this section is all about.
Step 1 – Preparing your USB drive on the PC.
Important Note – As previously mentioned what you do here is at your own risk. If your USB drive is not new, then you may need to format the drive.
When doing this step please make sure you right click on the USB drive, and NOT YOUR computer’s hard drive.
Your USB drive letter will typically be a later drive letter, like E: or F:. See the picture below – look for “Format USB Drive” at the top. Make sure you have copied any data off the USB drive before you format it.
Go to your laptop / computer and plug in your USB drive. Right click on the USB Drive icon on your PC and select Format. Make sure it is either blank or you’ve backed up the data on the USB drive as formatting will wipe all data from the USB drive (which wipes all the data on the USB drive) to FAT32 (default) or exFAT. Make sure you DON’T format the USB drive to NTFS – the PS4 is not likely to detect this file system.
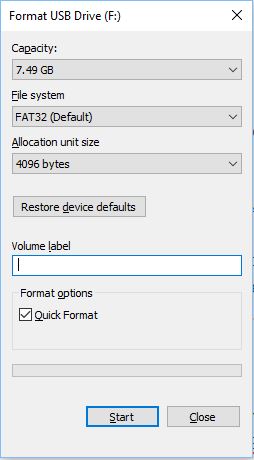
Note the heading here – it mentions “Format USB drive”. Be very careful when formatting anything as data could be lost.
Step 2 – Setting up the folder system for the PS4 software. Two folders have to be created on the USB drive. The first one is “PS4” (without quotes), and the second one within the PS4 folder is “UPDATE”.
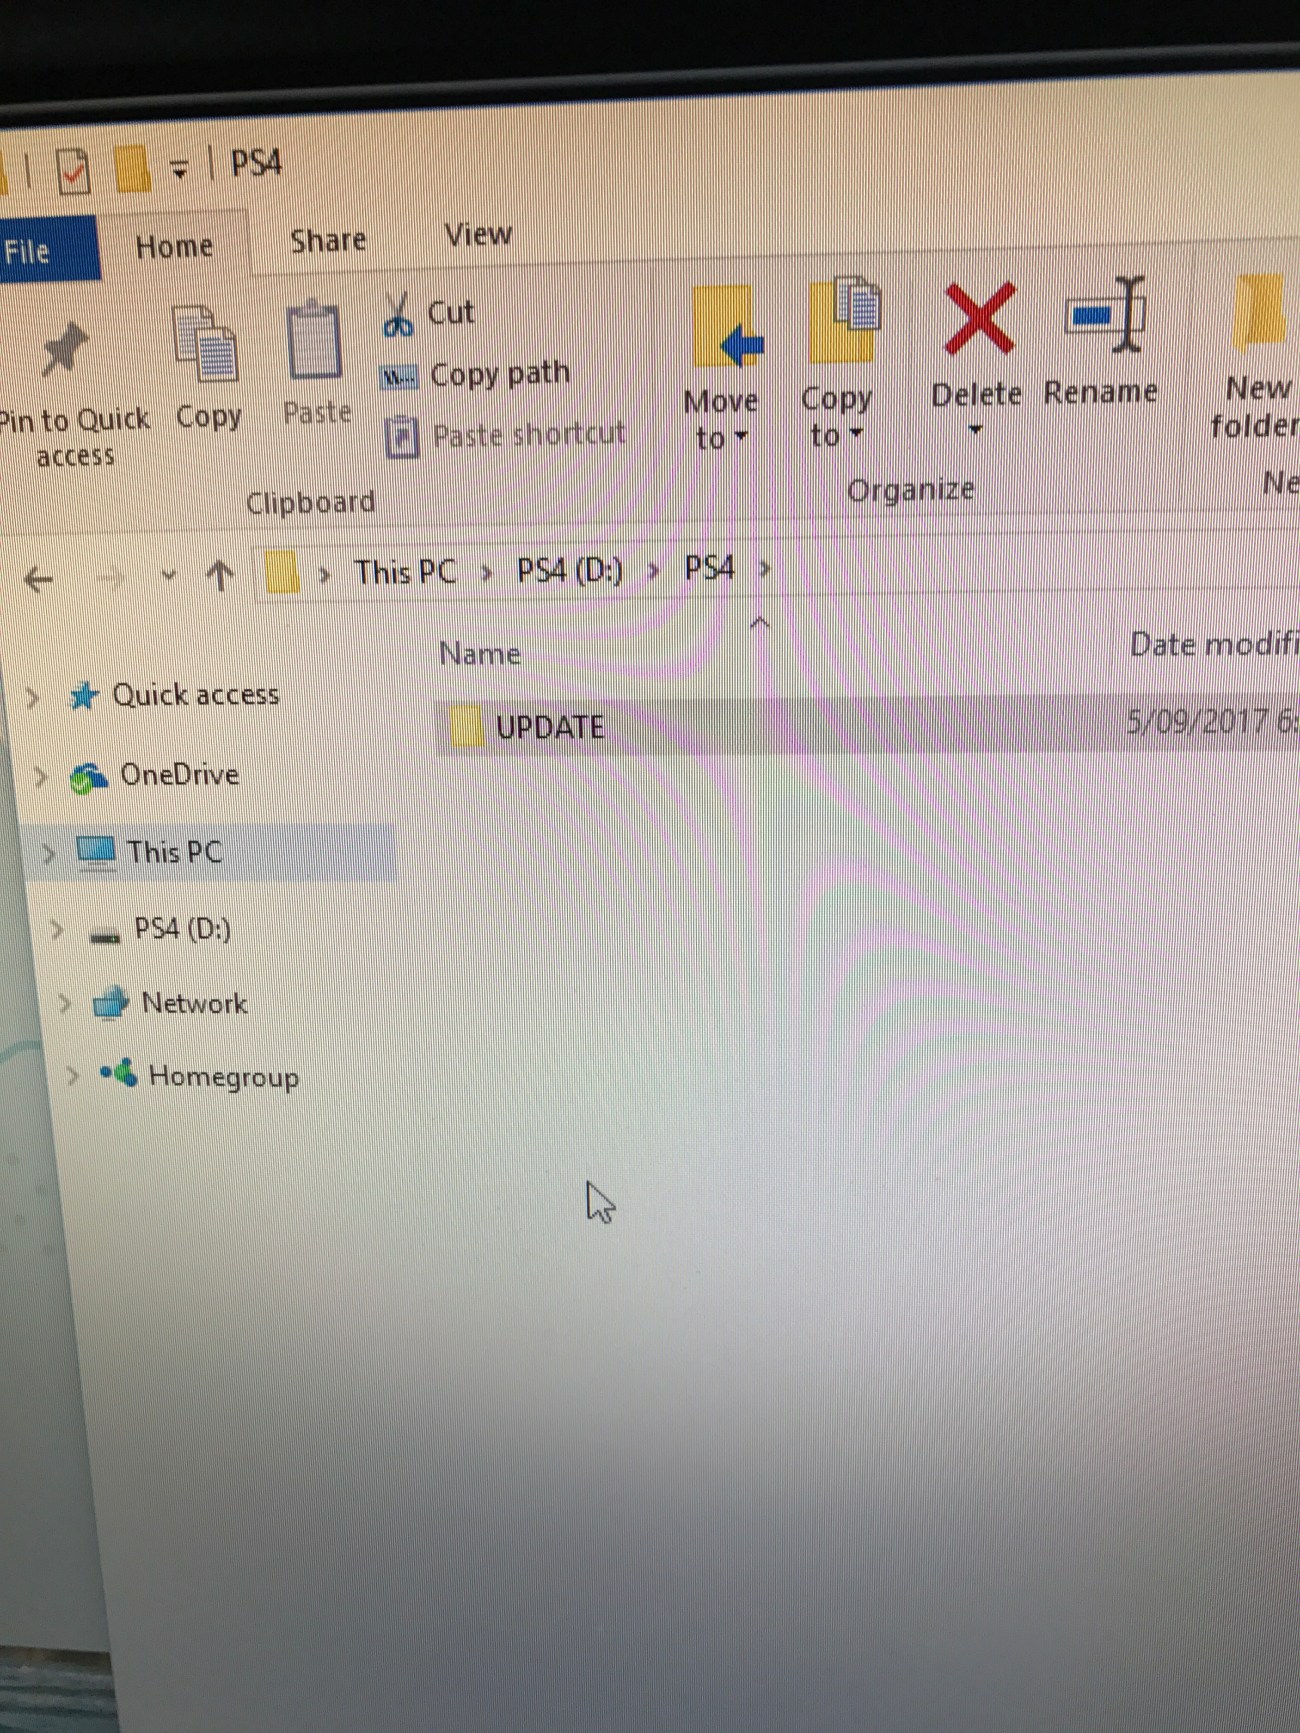
I named the USB drive PS4 in this picture (this is not required). Note though that in the root directory the PS4 folder is created, followed by the UPDATE folder. You’ll be putting the 900mb file in the UPDATE folder.
Step 3 – download the right update file. As of writing the current Playstation OS version is 4.73. It is very important you download the appropriate update file. Because you do not have anything on the new hard drive at all, you’ll need the link that downloads the full Playstation Operating System, which as previously mentioned, is around 900mb. Do not download the 300mb file, as this is an incremental update only and will not work on a brand new hard drive.
Go here to download the reinstallation file (full system) for the PS4 / PS4 Pro.
Copy or move the file you’ve downloaded to the UPDATE folder on your USB drive.
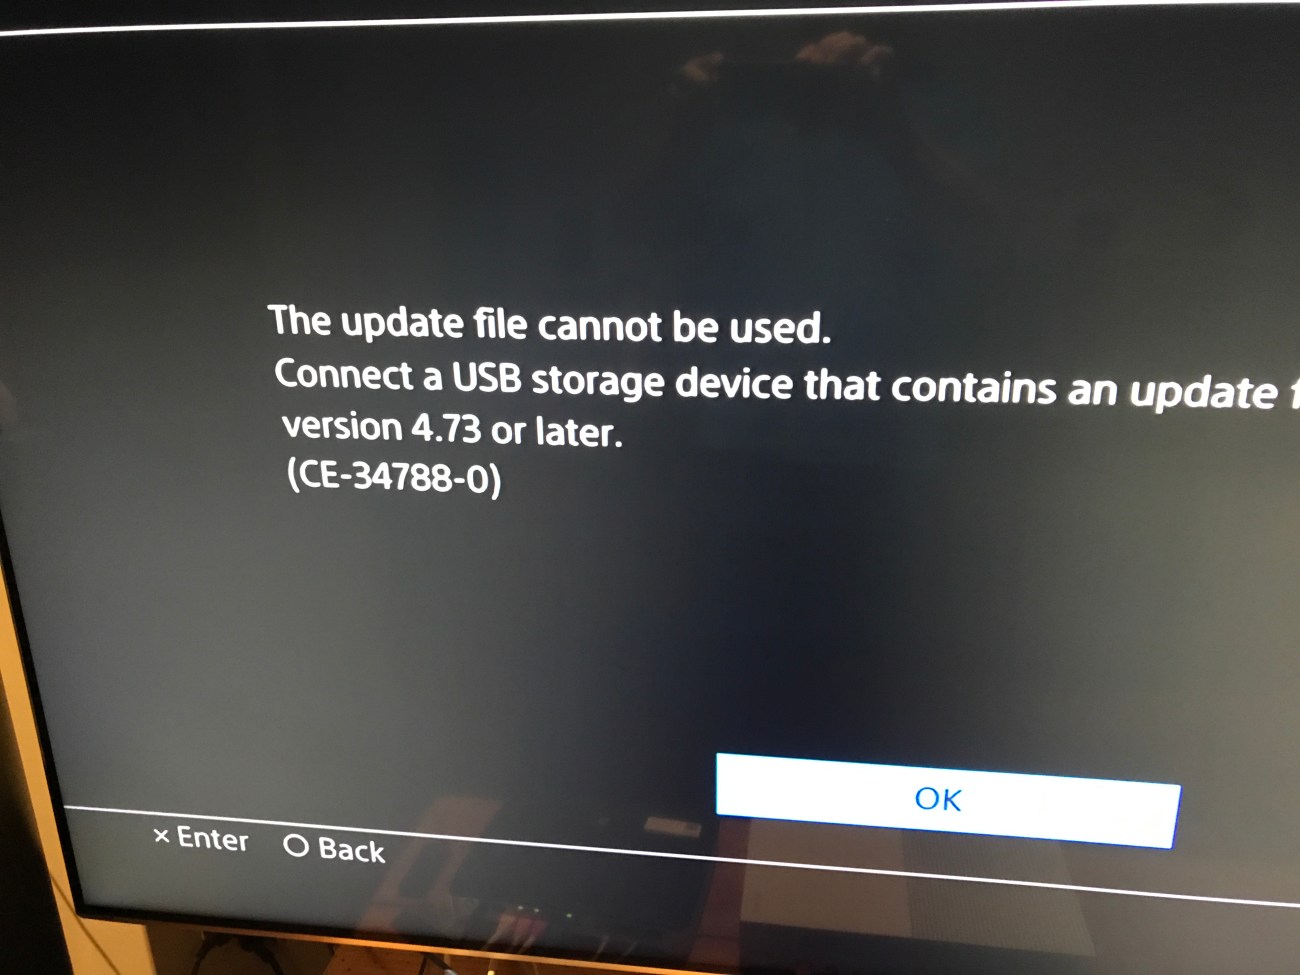
This is one of the messages you will see if you end up downloading the 300mb update file, instead of the 900mb (approx) full OS file.
Step 4 – Plug your USB drive in the front of your PS4, along with the charge cable connected to your PS4 Controller. Turn your PS4 on. After about 30 seconds you’ll receive a message saying the PS4 cannot be started. Don’t panic – this is normal for now. It will ask you to press the PS button on your controller. Do this.
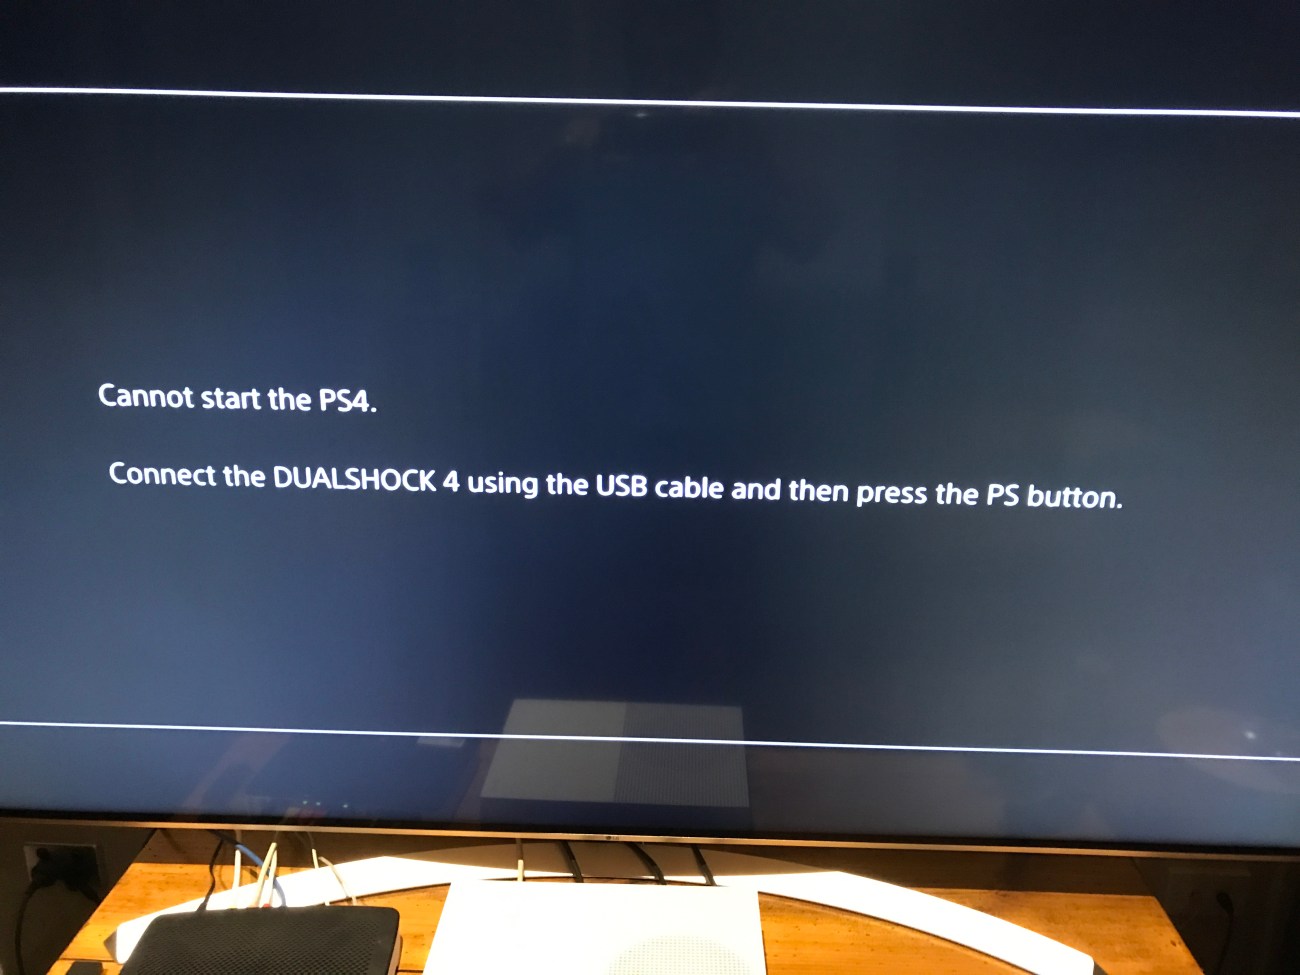
This semi scary message appears when you first boot your PS4 / PS4 Pro with new hard drive installed. Don’t worry – it is normal.
Step 5 – You’ll be prompted to select OK with your PS4 controller to start the installation of the Playstation OS. Proceed to do this. The update may take around 10 minutes or so, depending on the speed of your hard drive.

Using your controller press OK to start the software installation.
You’ll be asked to reboot your PS4 / PS4 Pro.
Congratulations!
Your new hard drive is installed and the PS4 should boot as normal now. You’ll need to restore your data from the backup you saved earlier.
I hope you find this guide useful. I’m happy to assist with any questions or comments about the process.
Categories: Gaming, Technology, Tips & Tricks


I know the Xbox One has included external HDD support for a long time now but it’d still be nice to be able to upgrade the internal drive and keep things nice and neat My 2TB external HDD is almost half the size of my Day One XB1…
LikeLiked by 1 person
This is excellent! I’ve been thinking about putting a new hard drive in my PS4, so I appreciate the very detailed instructions you provided!
LikeLiked by 2 people
Hi Athena – I’m glad it is helpful. I figured it worth doing because I’m sure there is a few of us with a PS4 🙂
LikeLiked by 1 person
Reblogged this on DDOCentral.
LikeLike
I find it quite ironic that I referred to my own article when changing the PS4 HDD 🙂
LikeLiked by 1 person